Key Takeaways
A straight edge razor is a single open blade that folds into its handle, sometimes called a cut throat razor. With patience and the right setup, any guy can learn to use a straight razor safely at home.
Two main types exist: traditional fixed-blade straights (require stropping and occasional honing) and shavettes (use disposable blades, no sharpening needed). I’ve used both.
Main benefits include a closer shave, less razor bumps and irritation, long-term cost savings, and a calmer, more mindful morning routine.
The environmental angle is real: no plastic cartridges in the bin every week, just steel that can last decades.
Honest warning: there’s a learning curve. Expect a couple of small nicks in the first few weeks. Most men feel confident after 10-15 shaves.
I switched from cartridge razors about two years ago. Before that, my routine involved five-blade cartridges, a bin full of plastic every month, and a neck that looked angry more often than not. The first time a barber used a cut throat razor on me, I flinched. Then I felt my jawline. Glass smooth. No redness.
That single shaving experience convinced me to try straight razors at home. It took some practice and a few small cuts, but the results were worth it. My skin cleared up. I stopped buying new cartridges. And weirdly, I started looking forward to shaving.
This guide covers everything I learned: what these classic razors actually are, how to pick one, how to use one without slicing yourself, and how to keep it sharp for years. If you’re curious about making the switch, this is everything I wish someone had told me when I started.
What Is a Straight Edge Razor, Really?
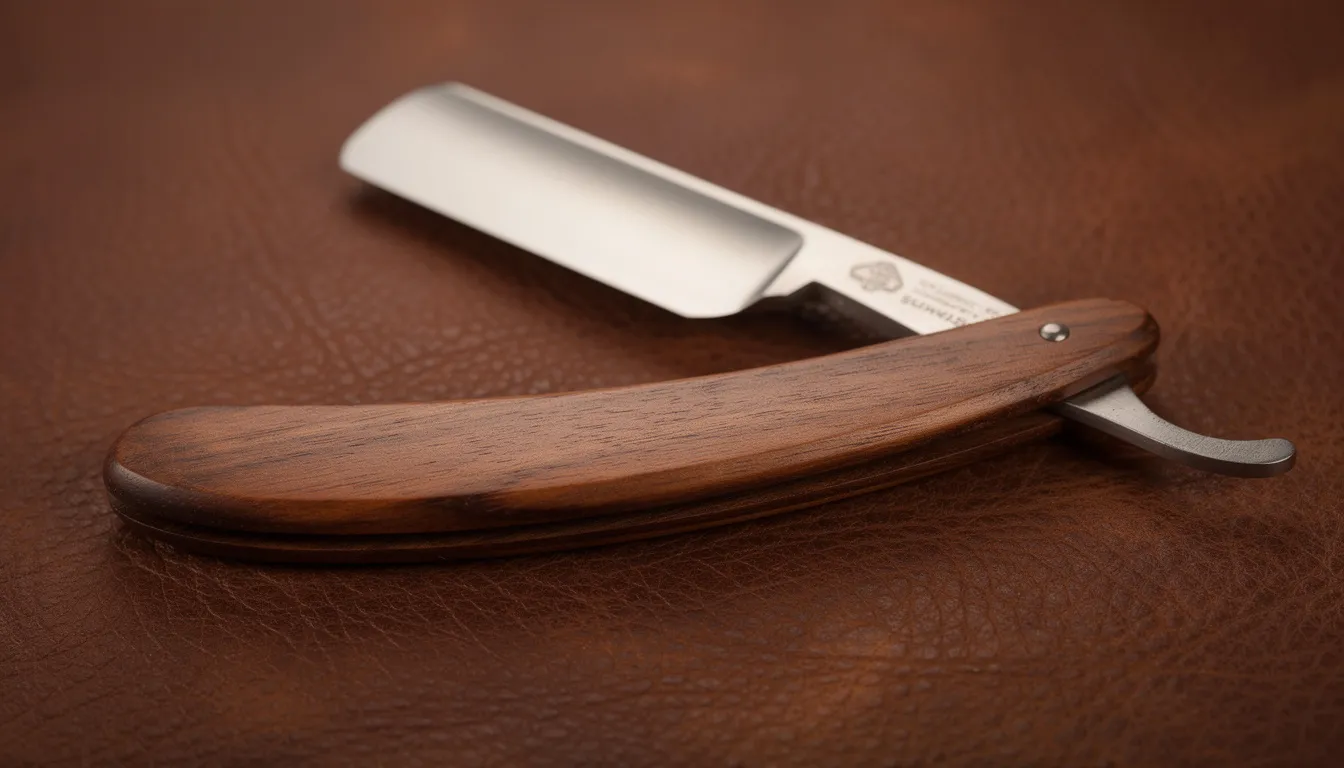
A straight edge razor is exactly what it sounds like: a single, long, open blade that folds into its handle. You might hear it called a cut throat razor, open razor, or just a straight. The blade is the sharp edge, and the handle (called the scales) protects it when closed.
The history goes back further than most people think. Modern straight razors were first manufactured in Sheffield, England, starting in 1680. A cutler named Benjamin Huntsman revolutionized the industry around 1740 by inventing the crucible steel process, which produced stronger, more durable blades that could hold a sharp edge. By the late 1800s, straight razor shaving had reached its peak, with blades from Sheffield and Solingen, Germany, becoming the gold standard.
In everyday talk, “straight razor” and “straight edge razor” mean the same thing. Barbers sometimes separate traditional fixed blades from shavettes (which take disposable blades), but most men use the terms loosely.
The first time I saw one used on my neck at a barbershop, I thought the barber was about to end my life. The blade looked huge. But he worked carefully, stretching my skin tight, and the shave was the closest I’d ever had. No tugging, no burning. Just smooth. That’s when I knew I had to learn this myself.
A single blade does less damage to your skin than multiple blades dragging across the same spot. That’s the core idea. Less passes, less irritation, better results.
Types of Straight Edge Razors (What You’re Actually Buying)
There are two main categories to understand before you spend any money.
Traditional straight razors have a permanent steel blade that you sharpen yourself. These are the old-school razors your great grandpa might have used. The blade is forged, ground, and meant to last decades with proper care. You need to strop before every shave and hone occasionally.
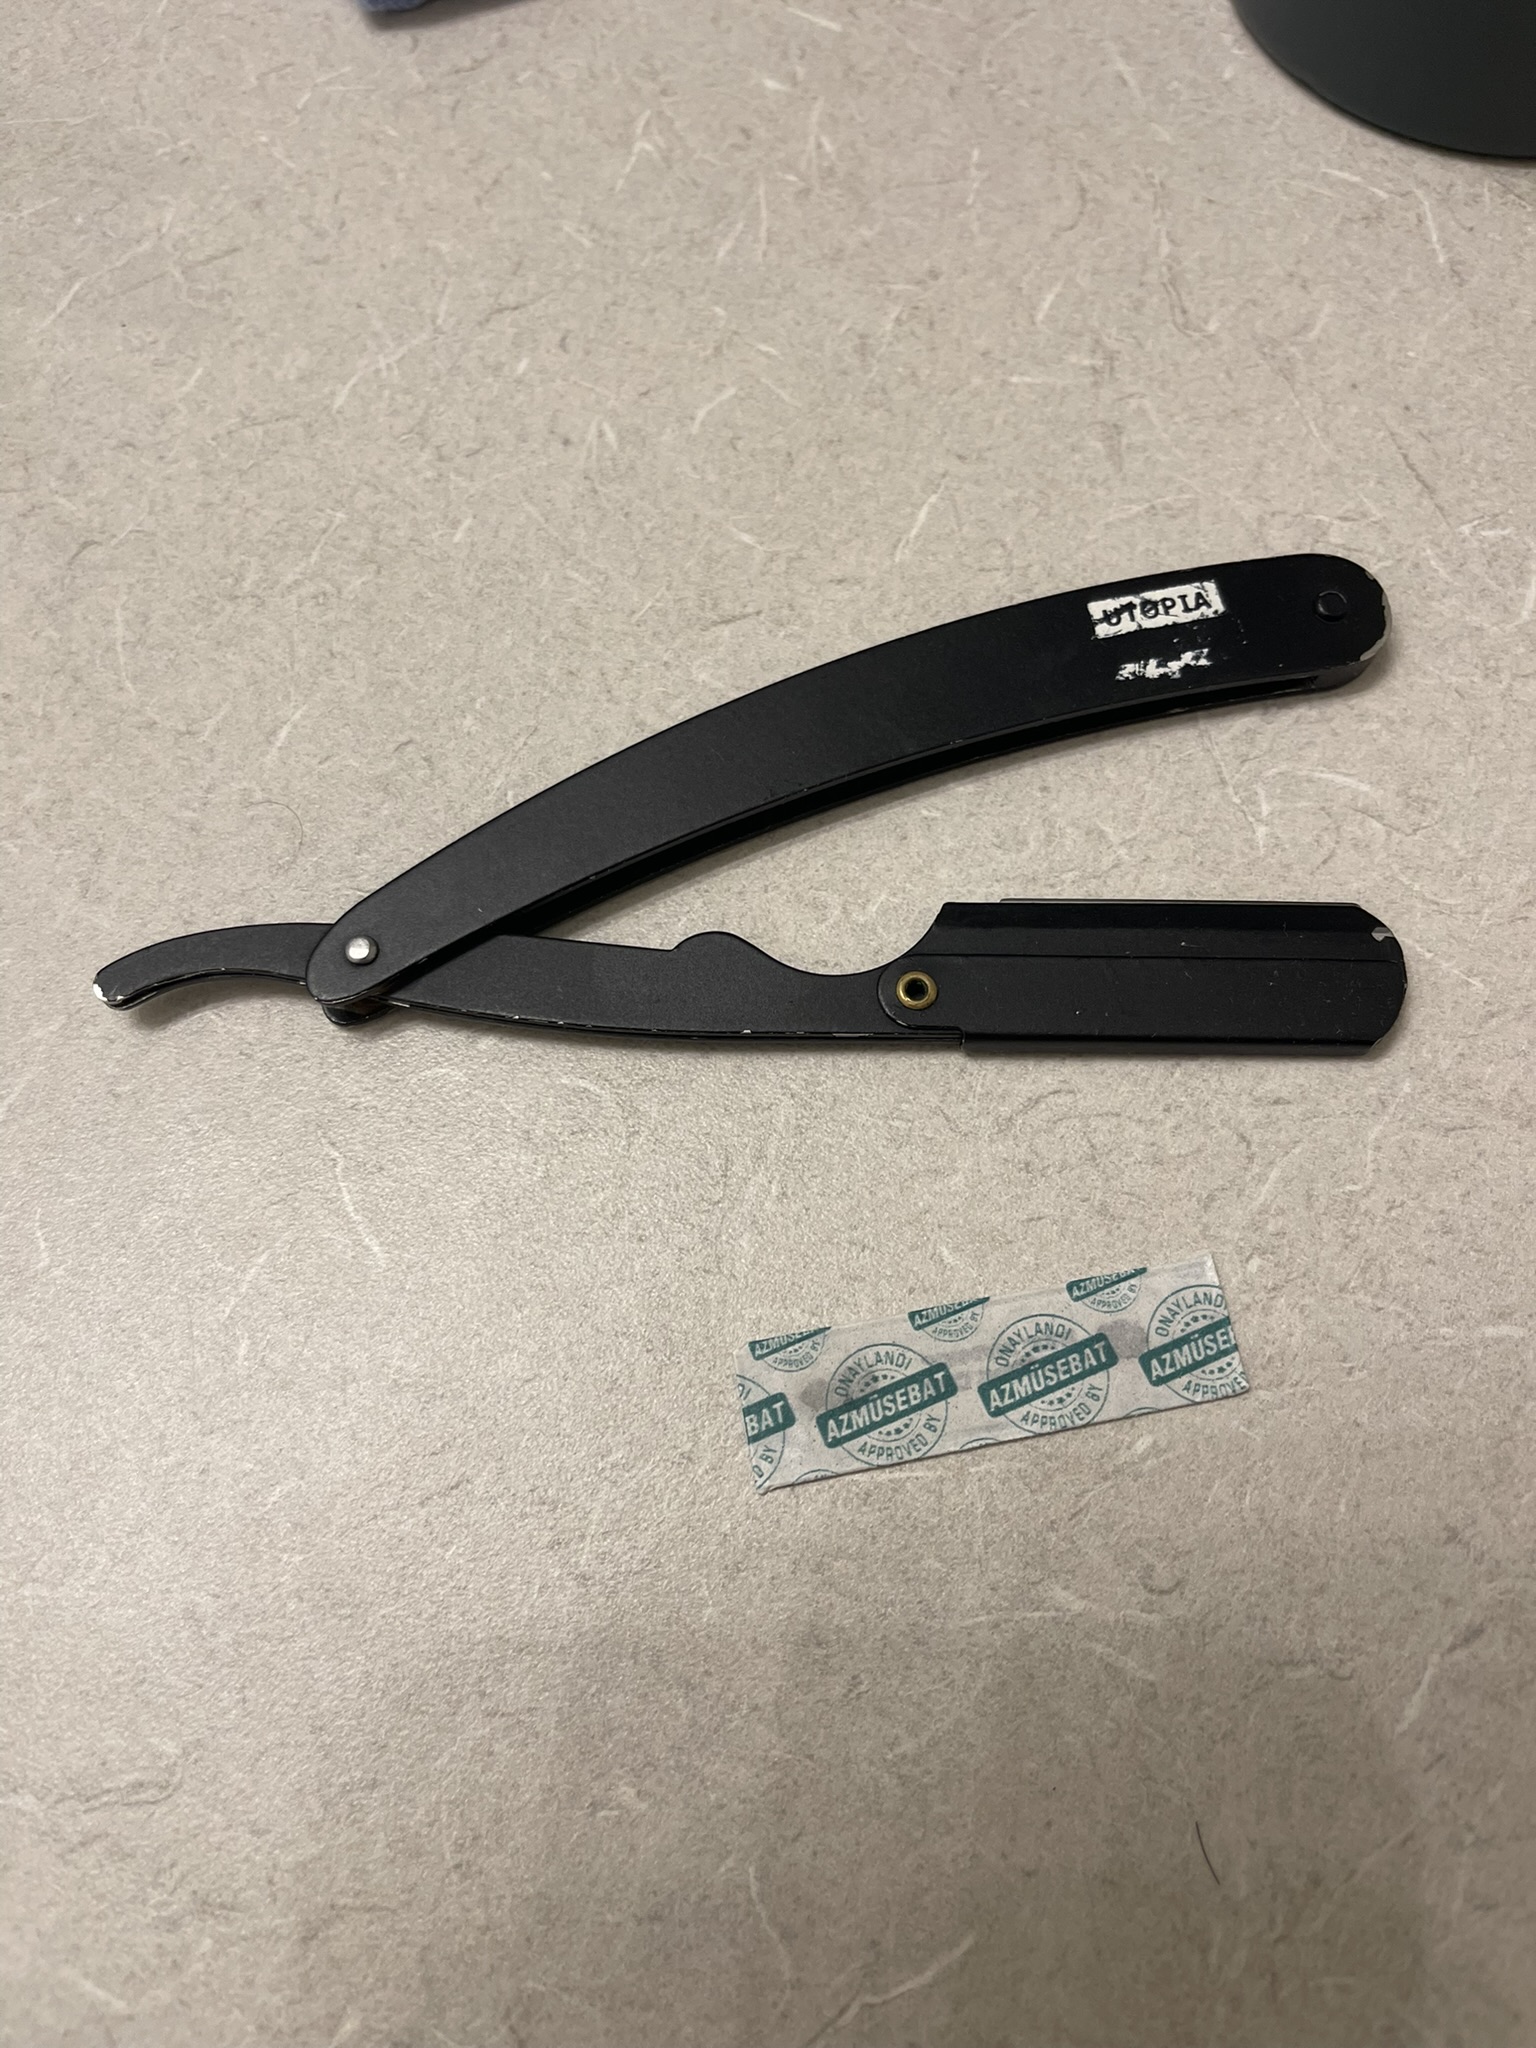
Shavettes look similar but take disposable blades—usually half of a double edged safety razor blade or a special proprietary blade. No honing stone needed. When the edge dulls, you just swap in new blades.
A traditional straight feels heavier and smoother in hand. There’s something satisfying about the weight and the knowledge that this single blade will outlast you if you treat it right. A shavette is lighter, a bit less forgiving on technique, but much simpler for maintenance.
Here are some mid-range examples with rough prices:
DOVO Solingen 5/8” carbon steel (Germany): Around $120-180. Classic choice, excellent edge retention.
Boker 6/8” King Cutter (Solingen, Germany): Around $150-200. Slightly wider blade, great for thicker beards.
Parker SR1 Shavette (stainless steel): Around $20-35. Good entry-level shavette, takes half DE blades.
Who should get which? Shavettes suit beginners who don’t want to learn straight razor honing right away. Traditional straights are for guys who enjoy gear, appreciate craftsmanship, and want long-term ownership of a good razor.
One practical note: most barbers today use shavettes instead of traditional straights for hygiene and legal reasons. Health codes in many places require single-use blades for paying clients. So if you get a professional shave, it’s probably a shavette, not your great grandpa’s razor.
Blade Steel, Temper, and Geometry (But in Plain English)
The blade’s steel matters more than you’d think.
Carbon steel takes a keener, sharper edge. It’s what most vintage and high-end modern straight razors use. The downside: it can rust if you leave it wet. You need to dry it after every shave and maybe add a little oil if storing it long-term.
Stainless steel resists rust better but can feel slightly “harder” on the honing stone. Some people say it doesn’t get quite as sharp, though modern stainless has improved a lot. For humid climates or guys who aren’t obsessive about drying their razor, stainless is more forgiving.
Blade width is measured in eighths of an inch:
3/8”: Narrow, light, good for detail work
5/8”: The sweet spot for most faces, what I use daily
6/8”: Slightly wider, holds more lather, good for thick beards
7/8” and larger: Barber territory, heavy and intimidating
I prefer 5/8” and 6/8” because they balance control and lather capacity. A wider blade sideways can be harder to maneuver around the nose and upper lip.
Blade grinds affect how the razor feels:
Full hollow: Very thin, light, and “singing” against the skin. Sharp but delicate.
Half hollow: Slightly more backbone, still flexible.
Quarter hollow/near wedge: Heavier, more forgiving, great for thick facial hair.
For your first razor, I’d suggest a half or full hollow 5/8” with a round point. The round point is gentler at the corners and less likely to stab your cheek or nostril while you’re learning.
My first razor was a 5/8” carbon steel with a full hollow grind. Looking back, it was perfect for learning because the light blade gave me immediate feedback when my angle was wrong.
Handle (Scales) Materials and Balance
The handle of a straight razor is called the scales. Material affects balance and feel more than cutting performance, but it still matters.
Common materials I’ve handled:
Plastic: Light and cheap. Gets the job done. Won’t win any beauty contests.
Wood: Warms up nicely in your hand. Can swell if always left wet in the bathroom.
Resin or acrylic: Tough and stable. My personal preference for beginners because they handle humidity well and look good.
Horn or bone: Premium feel, beautiful grain patterns. Can warp or dry out without proper care.
Balance matters because a well-balanced razor pivots smoothly and doesn’t feel like the blade wants to tip forward onto your skin. You want the weight centered near where your fingers rest on the shank, not flopping toward the edge.
I prefer resin-handled razors for anyone starting out. They’re stable in humid bathrooms, not too heavy in the tail, and relatively affordable.
Vintage ivory scales still exist on antique razors, but I don’t recommend chasing them. Ethical and legal issues aside, modern materials like stabilized wood and resin look just as good and are more practical.
Why I Switched to a Straight Edge Razor
My old routine was typical. A five-blade cartridge razor, cheap shaving cream from a can, and a two-minute shave during my morning shower. Results: red neck, ingrown hairs every week, and about $150-200 per year on new cartridges.
The turning point came before a job interview. My neck looked like I’d fought a cat. I was desperate, so I walked into a barbershop and asked for a straight shave. The barber wrapped my face in a hot towel, built up a thick lather with a shaving brush, and worked methodically with what looked like a terrifying blade.
Twenty minutes later, my face felt like someone else’s. Smooth. No burn. That single experience showed me how much gentler one sharp blade could be compared to multiple dull blades dragging across irritated skin.
The benefits I’ve noticed:
Closeness is real. The blade’s edge gets right to the skin without the “lift and cut” gimmick that cartridges advertise. My jawline feels glass-smooth.
Skin comfort improved within weeks. Fewer ingrown hairs. Almost no razor bumps. When I shave with the grain only, my neck stays calm all day.
The mindset shift surprised me most. Instead of rushing, I spend a quiet 10-15 minutes every other morning. It’s become almost meditative—prep the face, build the lather, focus on technique. A calm start to the day.
Honest drawbacks:
The learning curve is real. My first few shaves were slow, careful, and resulted in a couple of small nicks. I wasn’t confident enough to shave my whole face for the first week.
Time matters. You can’t do this in a rushed three-minute hot shower. If you’re always running late, this might not be your thing.
Gear You Actually Need to Get Started
Starting with straight razor shaving doesn’t require a huge investment, but you need the right basics.
Day One Essentials:
One straight edge razor: Either a honed traditional ($40-150 for entry-level) or a shavette ($20-40). The Parker SR1 or a starter DOVO are solid choices.
A leather strop (for traditional blades): Around $20-40. Look for one with a canvas side and a leather strip.
A shaving brush: Synthetic brushes ($15-30) work great for beginners. Badger hair is traditional but pricier.
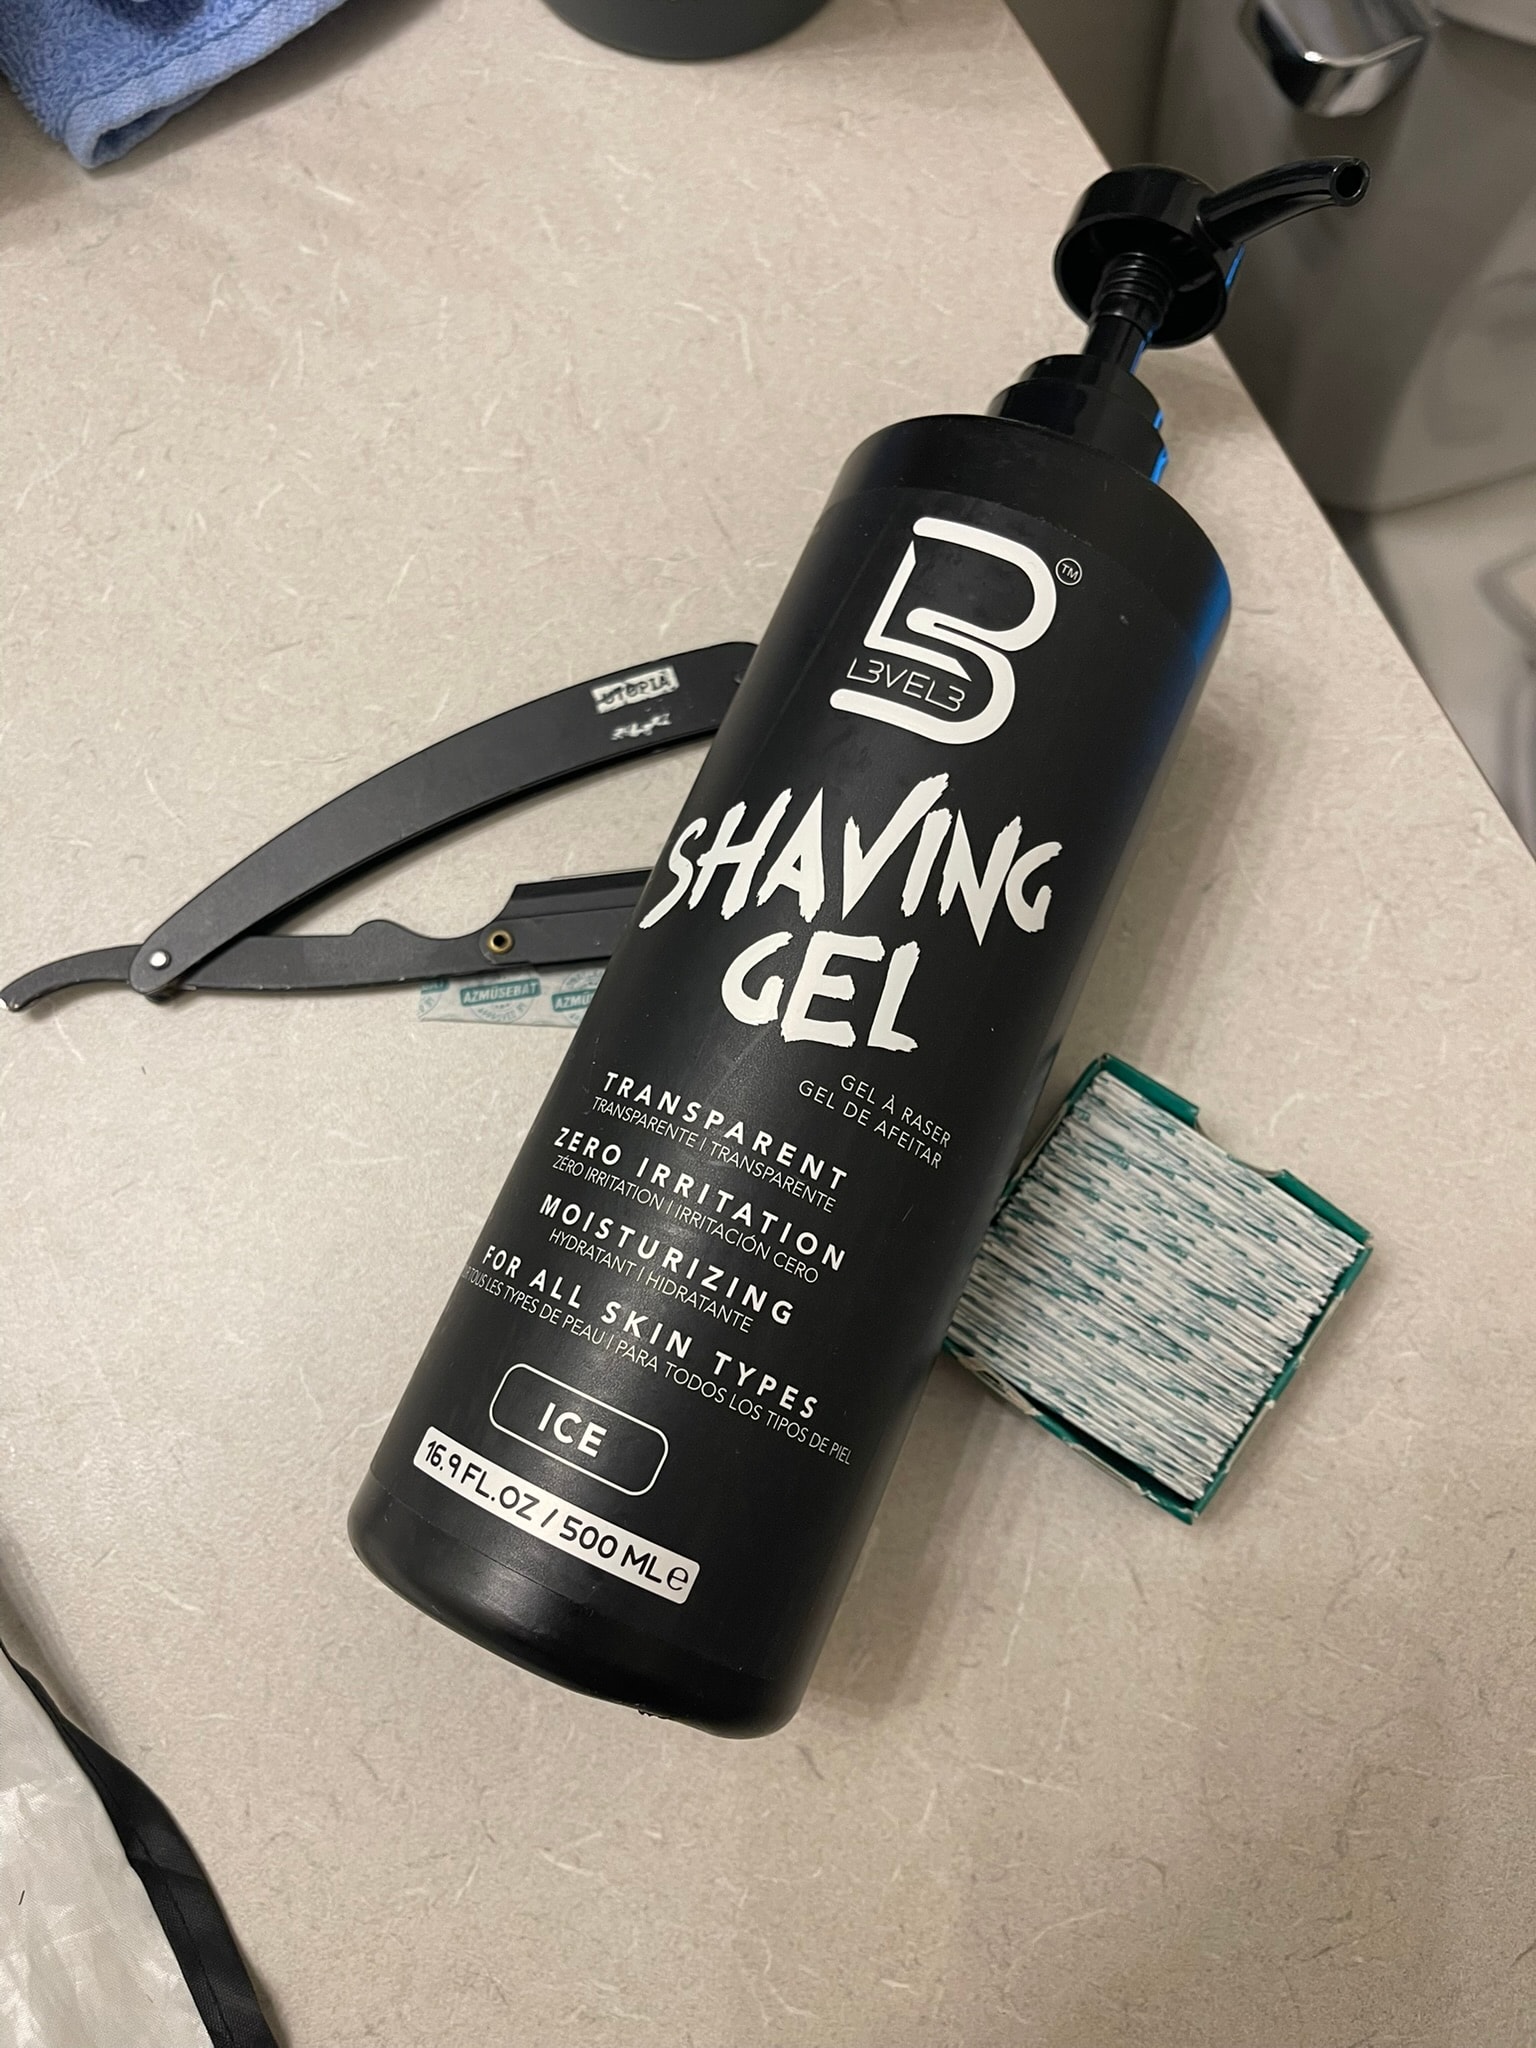
Shaving cream or soap: A good cream or soap ($10-25) makes a huge difference. Skip the canned foam.
Total day-one budget: roughly $80-200 depending on whether you go shavette or traditional.
Nice to Add Later:
Honing stone (4,000-8,000 grit for touch-ups)
Pre-shave oil
Alum block for small cuts
Aftershave balm
A hanging strop for convenience
What I’d change if starting over: I bought a super cheap eBay razor first. Waste of money. The edge was uneven and it never shaved well. Go straight to a known starter brand or buy from a vendor who hones before shipping.
Pre-Shave Prep: Face and Razor
Good prep makes everything easier. Skip this, and you’re fighting your beard instead of shaving it.
My routine:
Start with a hot shower or at least three minutes with a hot towel pressed against your face. Hot water softens the beard by roughly 30-40%. Dry stubble is like cutting wire; softened stubble is like cutting butter.
Wash your face with a gentle cleanser. Get rid of any oil or grime that would block the blade.
Soak your shaving brush in warm water while you shower. When ready, shake out the excess and load it with shaving cream or soap. Work the brush on your face in circular motions for at least a minute. You want a creamy, slick lather—not the airy foam you get from canned products.
Pre-shave oil can help if your skin runs dry, especially in winter. I use it sometimes when my face feels tight. It adds a layer of slickness under the lather. Optional, but worth trying.
For traditional straights, I strop before every single shave. Run the blade down the leather strip, flip on the spine, and come back. Never skip this.
For shavettes, just check that your blade is fresh and seated straight. Wobbly blades cause cuts.
How to Strop a Straight Edge Razor
Stropping doesn’t sharpen the blade. A honing stone does that. Stropping realigns the microscopic edge so it stays keen between honings. Think of it like straightening bent teeth on a comb.
My step-by-step routine:
Attach the strop to a door handle or wall hook. Keep it tight—no slack, no wobble.
Lay the razor flat on the leather with both the spine and the edge touching. The spine leads.
Move the razor away from you in one smooth stroke, keeping very light pressure.
At the end of the stroke, flip the razor on its spine (not the edge!) and come back toward you.
Repeat for about 30-40 passes on leather. If your strop has a canvas strip, do 20 passes on the canvas side first.
Go slower than you think you need to. Speed causes problems. One mistake I made early: I lifted the spine during a flip and sliced right through my first strop. Embarrassing and wasteful. Keep the spine anchored during the flip.
Frequency:
Strop before every shave (essential)
Do a more thorough session with extra passes every few weeks
Clean your strop occasionally with a soft cloth
How to Hone a Straight Edge Razor (When You’re Ready)
Straight razor honing is not a day-one skill. Many men send their razor to a professional honer once or twice a year, especially when starting. That’s perfectly fine.
When you’re ready to learn, here’s the basic setup:
A 1,000-3,000 grit stone for repairs and heavy work
A 4,000-8,000 grit stone for regular edge refreshing
Optional: a pasted strop for final polishing
Simple honing pattern:
Wet the stone with water or honing oil (depending on stone type).
Lay the razor flat with spine and razor blade edge both touching the stone.
Use light pressure—let the weight of the blade do the work.
Move in an X-pattern across the stone, leading with the spine.
Flip on the spine at the end of each stroke and come back.
Count your strokes to keep both sides even. Start with 20 per side and test.
Basic tests I use:
Arm-hair test: Does it cleanly cut arm hair?
Thumb pad feel: Does the edge catch slightly on your moistened thumbnail?
Shave test: Does it glide through stubble without tugging?
Don’t overthink lab-style testing. If it shaves well, it’s sharp enough.
For beginners: focus on stropping and shaving technique first. Mastering the honing stone can wait.
How to Hold and Control a Straight Edge Razor
The grip matters more than you’d expect.
Standard grip:
Place your first three fingers on the shank (the metal part between blade and handle).
Your pinky rests on the tang (the small tail sticking out the back).
Thumb sits on the opposite side of the shank, near where the blade meets the handle.
Open the blade to about 270 degrees from the handle.
This grip lets you pivot the razor easily and keeps the edge under control.
Your grip changes slightly depending on the area. For cheeks, the standard grip works well. Under the nose, I choke up a bit. For the neck, I sometimes switch my left hand to shave the opposite side.
I started using only my dominant hand for everything. After a few weeks, I slowly trained my off hand for the opposite cheek. Both approaches work—some people prefer using one hand exclusively, others switch. Personal preference.
The key is a relaxed but firm grip. Tight, nervous fingers cause shaky movements. Keep your little finger anchored and let the razor do the work. The spine should stay close to the skin at all times.
Shaving Technique: Step-by-Step First Shave
Your first shave should be slow and limited. Don’t try for perfection.
Order I recommend:
Cheeks (easiest, most forgiving skin)
Sideburns
Jawline
Moustache area
Chin
Neck (save for last—trickiest zone)
Angle:
Hold the blade at about 30 degrees to your skin. The spine should be roughly one spine-width away from the skin surface. Too flat and the blade skips. Too steep and you’re scraping.
First-week approach:
Shave downward, with the grain only. One gentle pass. That’s it.
Don’t chase baby-smooth on day one. You’re training muscle memory, not racing the clock.
Skin stretching:
Use your free hand to pull the skin tight:
Pull upward for cheeks
Pull sideways around the jaw
Pull skin upward (stretching down toward the neck) for the lower neck area
This trick reduced my nicks immediately. Loose skin catches the blade. Tight skin lets it glide.
Mental side:
Go slow. Keep breathing. If you feel rushed, stop and come back later.
After a few shaves, you’ll find your rhythm. The right jaw might feel natural while the left needs more practice. That’s normal.
Multiple Passes and Advanced Shaves
Once you’re comfortable with one pass, you can add more for a closer finish.
My progression:
First pass: With the grain (WTG) Second pass: Across the grain (XTG) Third pass: Against the grain (ATG)—but only on cheeks, rarely on neck
Re-lathering between passes is non-negotiable. Always refresh that smooth shaving surface with thick lather before bringing the blade back. Dry blade on damp skin causes irritation and cuts.
For my own skin, two passes (WTG and XTG) usually give me a workday-smooth result. The neck stays calm. For special occasions, I’ll add a careful ATG pass on the cheeks only.
Knowing when to stop:
Redness, tightness, and stinging mean your skin has had enough. Even if you still feel stubble, stop. Pushing for the best possible shave when your skin is already irritated leads to problems.
Some stubble after multiple passes is fine. You’ll get better results next time.
Aftercare: Skin and Razor
What you do after the shave matters as much as the shave itself.
My post-shave routine:
Rinse with cool water to close pores and calm the skin.
Gently pat dry with a clean towel. No rubbing.
Apply an alcohol-free balm or simple witch hazel if the skin feels hot. Cold water alone works for me on good days.
Razor care:
Rinse the blade carefully under hot water.
Wipe dry with a soft cloth, avoiding direct finger contact with the razor’s edge.
Leave the razor open in a dry spot to air out for at least a few minutes.
For carbon steel blades, add a thin layer of mineral oil or camellia oil if you won’t use the razor for several days. This prevents rust, especially in humid climates.
I store my razors in a bedroom drawer, away from shower steam. The bathroom mirror area seems convenient, but humidity warps scales and promotes rust on carbon steel.
Costs, Longevity, and Environmental Impact
Let’s talk real numbers.
Yearly cartridge spend:
If you buy 4-5 blade cartridge razors and go through one a week, you’re spending roughly $150-250 per year on cartridges alone. Add canned foam and you’re over $200 easily.
Straight razor setup:
Entry traditional straight: $60-150 (one time)
Strop: $25-40 (lasts years)
Brush: $20-30 (lasts years)
Soap/cream: $40-60 per year
Year one total: roughly $150-280. After that? Maybe $50-80 per year for soap and occasional strop maintenance. Your razor itself could last decades.
The environmental angle:
No plastic blister packs. No disposable razor heads in landfills every week. Just steel that your kids could inherit.
If you use a shavette, the waste is minimal—small metal blades that stack in a used blade bank.
One honest note:
You can overspend if you catch the collector bug. Some guys end up with ten straight razors and six brushes. That’s fine if it’s your hobby. But the point here is one good setup, not building a museum.
Common Beginner Mistakes I Made (So You Don’t Have To)
Pressing too hard. I thought pressure meant control. Wrong. Let the sharp blade do the work. Lighter touch, better results.
Rushing before work. A panicked morning shave leads to cuts. I learned to wake up earlier or shave the night before important days.
Skipping the strop. Just once, I thought. My face paid for that shortcut. Strop every single time.
Shaving dry patches. When the lather wipes away during a pass, re-lather before going back. The blade on dry skin is asking for trouble.
Using a dull blade for “just one more” shave. With shavettes especially, swap in new blades when you feel pulling. Blades are cheap. Irritation isn’t.
Over-shaving the neck. My neck was my trouble zone. Switching to with-the-grain only on the neck for a few weeks let it heal.
Don’t give up after one bad shave. Most people need 5-10 shaves before things feel natural. Practice makes perfect.
Who Should (and Shouldn’t) Use a Straight Edge Razor
You’ll probably love it if:
You have a thick or fast-growing beard and want a closer shave
You’re fed up with razor burn and ingrown hairs
You enjoy traditional routines and taking care of quality gear
You want to reduce plastic waste and long-term costs
You appreciate a calmer, more intentional morning
You might not like it if:
You always shave in a rush with no time to spare
You have severe hand tremors that make steady movements difficult
You hate any kind of maintenance or gear upkeep
You’re content with your current shave and have no complaints
Skin type note:
Very sensitive or acne-prone skin needs extra care. Consider starting with just the cheeks while leaving tricky areas to a disposable razor or double edged safety razor at first. Once technique improves, expand gradually.
This isn’t for everyone, and that’s okay. The goal is the right tool for your situation, not converting every man to traditional straight shaving.
FAQ
How long does it really take to get comfortable with a straight edge razor?
Most men feel less scared after 3-5 shaves. Fairly confident after 10-15 shaves. Truly smooth and efficient after about a month of regular use.
Improvement is gradual. Your first few shaves might only cover the cheeks, and that’s perfectly fine. Track your progress mentally instead of expecting a perfect alignment of skill and results on day one.
Is a straight edge razor safe to travel with?
Traditional straights and separate blades usually aren’t allowed in carry-on luggage. They need to go in checked baggage. Rules vary by country and airline.
What I do: travel with a safety razor or electric if I’m only taking carry-on. My straight razor setup stays home. Always check current airline and airport rules before packing—upfront costs of losing a good razor at security aren’t worth it.
Can a straight edge razor help with ingrown hairs and razor bumps?
Switching to a single sharp blade reduced my neck bumps significantly after a few weeks. The key was avoiding shaving against the grain on the neck and not over-shaving the same area.
It’s not magic. Technique, prep, and restraint matter. Consider mapping your beard direction and using gentle exfoliation between shaves for best results.
How often should I replace a disposable blade in a shavette?
For most beards, 3-5 full shaves per half DE blade. Fewer if your beard is very coarse or you shave daily.
Signs of a dull blade: pulling, skipping, and more irritation even with good prep. New blades are cheap—when in doubt, replace rather than pushing one more shave.
Can I maintain a beard and still use a straight edge razor?
Absolutely. A straight edge razor is excellent for shaping cheek lines, necklines, and small details around a goatee or moustache.
I often use mine this way—carving clean edges on a short beard instead of fully shaving. Start by cleaning the cheeks and upper neck only, which is easier and makes the beard look sharper. The environmentally friendly aspect applies whether you’re clean-shaving or just doing edge work.